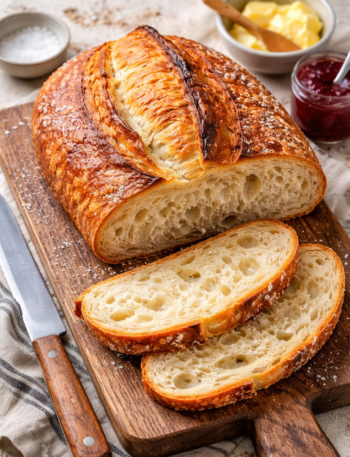
There is something deeply satisfying about baking a loaf of sourdough bread from scratch—especially when it requires no kneading at all. No-knead sourdough bread is the perfect blend of simplicity and tradition. It delivers everything people love about sourdough: a crisp, crackling crust, an airy interior, and that signature tangy flavor—without the physical work or technical complexity that often intimidates beginners.
This recipe relies on time, not effort. Instead of kneading, the dough develops gluten naturally through long fermentation and gentle folding. The result is a rustic, bakery-quality loaf made with just a few ingredients and a little patience. Whether you’re new to sourdough or a seasoned baker looking for a low-effort method, this no-knead approach is reliable, flexible, and incredibly rewarding.
Why No-Knead Sourdough Works
Traditional bread relies on kneading to develop gluten. No-knead sourdough skips that step by using hydration and time to do the work instead. As the dough rests, enzymes break down starches, gluten strands form naturally, and fermentation builds structure and flavor.
The benefits of no-knead sourdough include:
- Minimal hands-on time
- Deep, complex flavor from slow fermentation
- Open crumb with chewy texture
- Crisp, artisan-style crust
- Easy method for home kitchens
This process is especially well-suited for sourdough because natural yeast thrives in long fermentations.
Ingredients
For the Dough
- 100 g (½ cup) active sourdough starter, bubbly and recently fed
- 375 g (1½ cups + 2 tablespoons) water, room temperature
- 500 g (about 4 cups) bread flour or all-purpose flour
- 10 g (1¾ teaspoons) fine sea salt
That’s it—just four ingredients.
Equipment Needed
- Large mixing bowl
- Wooden spoon or dough whisk
- Kitchen scale (highly recommended)
- Clean kitchen towel or plastic wrap
- Dutch oven with lid (or heavy oven-safe pot)
- Parchment paper
- Bench scraper or spatula
Step-by-Step Instructions
Step 1: Mix the Dough
In a large bowl, combine the sourdough starter and water. Stir until the starter is mostly dissolved.
Add the flour and salt. Mix with a spoon or your hands until no dry flour remains. The dough will look shaggy, sticky, and rough—this is exactly what you want.
Cover the bowl with a towel or plastic wrap and let the dough rest for 30 minutes. This rest period, called autolyse, allows the flour to fully hydrate and begins gluten development naturally.
Step 2: Stretch and Fold (Optional but Recommended)
After the rest, perform a set of gentle stretch-and-folds to strengthen the dough:
- Wet your hand
- Grab one edge of the dough
- Stretch it upward and fold it over itself
- Rotate the bowl and repeat 3–4 times
Cover and let rest for another 30 minutes. Repeat this process 2–3 times over the next 1½ hours.
These folds replace kneading and dramatically improve structure, but even skipping them will still produce good bread.
Step 3: Bulk Fermentation
After the final fold, cover the dough and let it rise at room temperature for 4–6 hours, depending on the temperature of your kitchen.
You’re looking for:
- A 50–75% increase in volume
- A slightly domed surface
- Visible bubbles along the sides
The dough should look alive and airy, not flat or collapsed.
For deeper flavor, you can refrigerate the dough after 3–4 hours and allow it to ferment overnight (8–16 hours).
Step 4: Shape the Dough
Lightly flour your work surface. Turn the dough out gently—avoid deflating it.
Shape it by:
- Pulling the edges toward the center
- Rotating and tightening the surface
- Forming a round or oval loaf
Place the shaped dough seam-side down on parchment paper.
Cover loosely and let rest for 30–60 minutes while the oven preheats.
Step 5: Preheat the Oven
Place your Dutch oven (with lid) inside the oven and preheat to 475°F (245°C) for at least 30 minutes.
This intense heat and steam are what create the signature sourdough crust.
Step 6: Bake
Carefully remove the hot Dutch oven. Lift the dough using the parchment paper and lower it inside.
Optionally score the top with a sharp blade or knife.
Cover with the lid and bake for 30 minutes.
Remove the lid and bake for another 15–20 minutes, until the crust is deep golden brown.
The internal temperature should reach about 210°F (99°C).
Step 7: Cool Completely
Remove the bread from the pot and let it cool on a wire rack for at least 1 hour before slicing.
This step is crucial—the crumb continues to set as it cools.
Tips for Perfect No-Knead Sourdough
Use an Active Starter
Your starter should be bubbly, doubled in size, and recently fed. A weak starter will result in dense bread.
Hydration Matters
This dough is relatively high hydration. Sticky dough = open crumb. Don’t add too much extra flour.
Time Is Flexible
Sourdough is forgiving. Use visual cues, not the clock.
Don’t Skip Steam
Baking covered traps steam, allowing maximum oven spring and crust development.
Flavor Variations
Whole Wheat No-Knead Sourdough
Replace up to 30% of the flour with whole wheat flour. Add 1–2 tablespoons extra water.
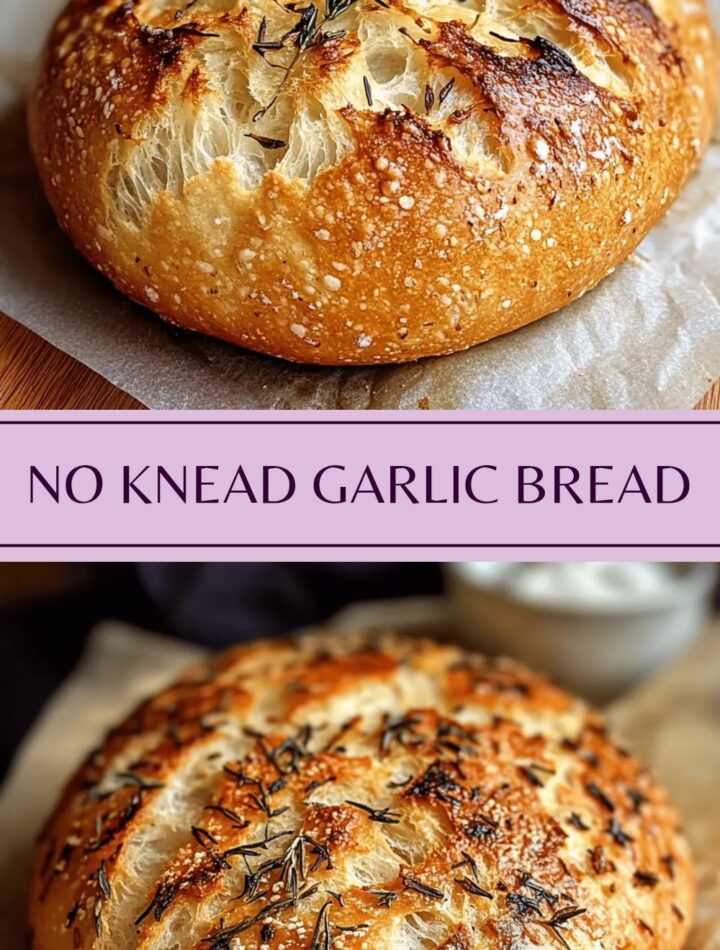
Garlic & Herb Sourdough
Fold minced garlic and fresh herbs into the dough during the first stretch-and-fold.
Seeded Sourdough
Add sunflower seeds, sesame seeds, or flax seeds for texture and flavor.
Olive Sourdough
Fold chopped olives and a drizzle of olive oil into the dough for a savory loaf.
Storage Instructions
- Store at room temperature, wrapped in a towel or paper bag, for up to 2 days
- Refrigerate for up to 5 days (crust may soften)
- Freeze sliced bread for up to 2 months
To refresh, warm in a 350°F oven for 10 minutes.
Troubleshooting Guide
Bread Is Dense
- Starter wasn’t active enough
- Dough under-fermented
Bread Spread Too Much
- Overproofed
- Too much hydration
Crust Too Hard
- Baked too long uncovered
- Cool slightly wrapped in a towel
Gummy Interior
- Sliced too soon
- Underbaked
Why You’ll Love This Recipe
- No kneading required
- Only 4 ingredients
- Flexible timing
- Beginner-friendly
- Artisan-quality results
- Naturally fermented
This is the kind of bread recipe that fits into real life. You can mix it in the evening, bake it the next day, and enjoy bakery-style sourdough without stress or special equipment.
Final Thoughts
No-knead sourdough bread proves that incredible bread doesn’t require complicated techniques or constant attention. With patience, quality ingredients, and a little trust in the process, you can bake a loaf that rivals anything from a professional bakery.
Crackling crust. Soft, airy crumb. Deep, complex flavor.
Once you master this method, it becomes more than a recipe—it becomes a rhythm in your kitchen.